PowerShell How-To
How Attackers Use BloodHound To Get Active Directory Domain Admin Access
Hackers can use tools like BloodHound to visualize the shortest path to owning your domain. But that doesn't mean you can't use it to find and protect your organization's weak spots. Here's how.
- By Adam Bertram
- 11/13/2019
BloodHound is an application developed with one purpose: to find relationships within an Active Directory (AD) domain to discover attack paths. It does so by using graph theory to find the shortest path for an attacker to traverse to elevate their privileges within the domain.
In this article, you will learn how to identify common AD security issues by using BloodHound to sniff them out.
To follow along in this article, you'll need to have a domain-joined PC with Windows 10. (This might work with other Windows versions, but they have not been tested by me.) You also need to have connectivity to your domain controllers during data collection.
How Does BloodHound Work?
BloodHound itself is a Web application that's compiled with Electron so that it runs as a desktop app. Its true power lies within the Neo4j database that it uses. Neo4j is a special kind of database -- it's a graph database that can easily discover relationships and calculate the shortest path between objects by using its links.
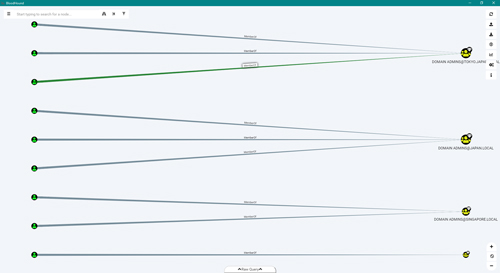
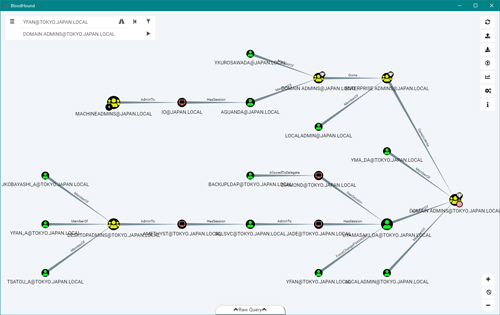 [Click on image for larger view.] Figure 1
The figure above shows an example of how BloodHound maps out relationships to the AD domain admin by using the graph theory algorithms in Neo4j.
BloodHound collects data by using an ingestor called SharpHound. It comes as a regular command-line .exe or PowerShell script containing the same assembly (though obfuscated) as the .exe. As it runs, SharpHound collects all the information it can about AD and its users, computers and groups. It even collects information about active sessions, AD permissions and lots more by only using the permissions of a regular user.
SharpHound outputs JSON files that are then fed into the Neo4j database and later visualized by the GUI. This also means that an attacker can upload these files and analyze them with BloodHound elsewhere.
But there's no fun in only talking about how it works -- let's walk through how to start using BloodHound with Windows to discover vulnerabilities you might have in your AD.
Downloading and Installing BloodHound and Neo4j
Getting started with BloodHound is pretty straightforward; you only need the latest release from GitHub and a Neo4j database installation.
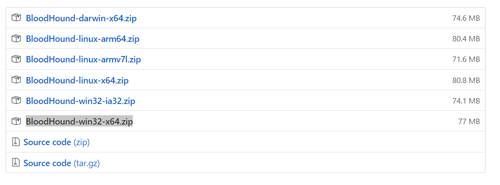
First, download the latest version of BloodHound from its GitHub release page. Since we're targeting Windows in this column, we'll download the file called BloodHound-win32-x64.zip.
 [Click on image for larger view.] Figure 2
Extract the file you just downloaded to a folder. I extracted mine to *C:.
Head over to the Ingestors folder in the BloodHound GitHub and download SharpHound.exe to a folder of your choice. I created the folder *C: and downloaded the .exe there.
Now, download and run Neo4j Desktop for Windows. Decide whether you want to install it for all users or just for yourself. (This installs in the AppData folder.) Press Next until installation starts. When the install finishes, ensure that Run Neo4J Desktop is checked and press Finish.
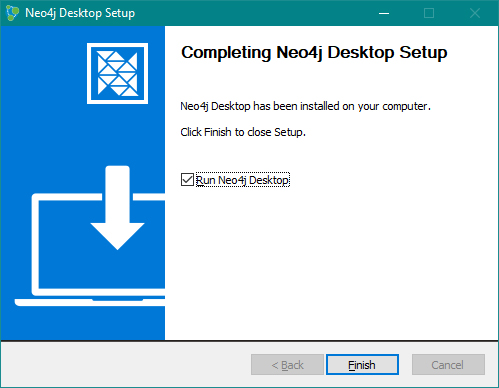 Figure 3
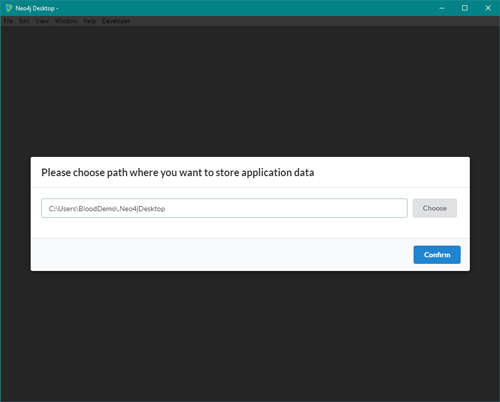
The Neo4j Desktop GUI now starts up. Select the path where you want Neo4j to store its data and press Confirm.
 [Click on image for larger view.] Figure 4
If you don't want to register your copy of Neo4j, select "No thanks! Maybe later." (It'll still be free.) Neo4j then performs a quick automatic setup. The install is now almost complete.
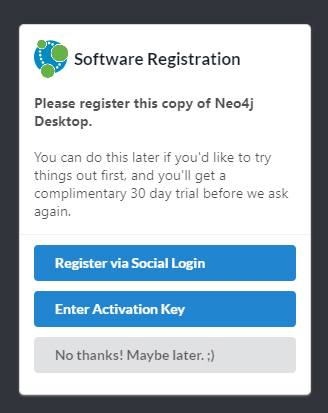 Figure 5
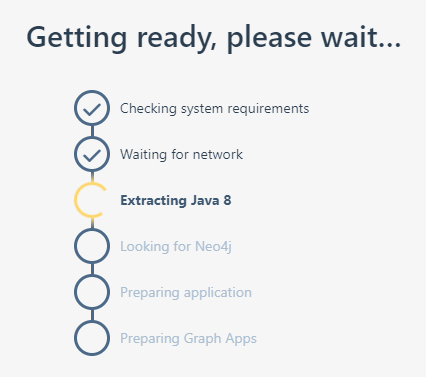 Figure 6
In the Projects tab, rename the default project to "BloodHound."
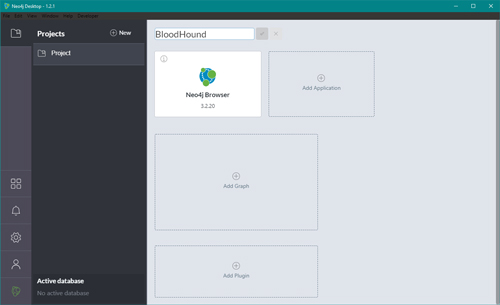 [Click on image for larger view.] Figure 7
Press the empty Add Graph square and select Create a Local Graph.
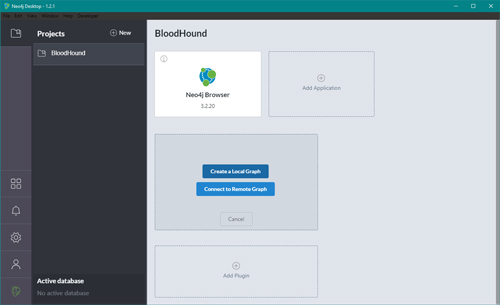 [Click on image for larger view.] Figure 8
Name the graph to "BloodHound" and set a long and complex password. Remember: This database will contain a map on how to own your domain.
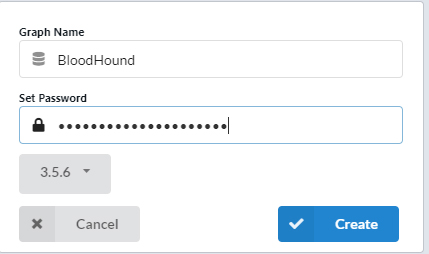 Figure 9
After it's been created, press Start so that we later can connect BloodHound to it.
You've now finished downloading and installing BloodHound and Neo4j. Now it's time to get going with the fun part: collecting data from your domain and visualizing it using BloodHound.
Collecting the Data
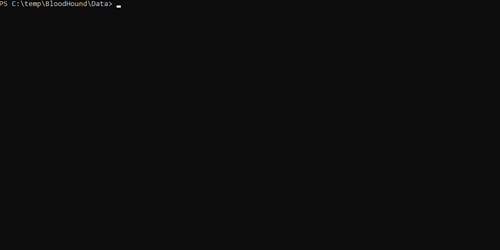
Now it's time to collect the data that BloodHound needs by using the SharpHound.exe that we downloaded to *C:. We're going to use SharpHound.exe, but feel free to read up on the BloodHound wiki if you want to use the PowerShell version instead.
Open PowerShell as an unprivileged user. Create a directory for the data that's generated by SharpHound and set it as the current directory. (I created the directory C:.)
mkdir C:-Force | cd
Now it's time to start collecting data. Type "C:.exe -c all" to start collecting data. When the collection is done, you can see that SharpHound has created a file called yyyyMMddhhmmss_BloodHound.zip. That's where we're going to upload BloodHound's Neo4j database.
 [Click on image for larger view.] Figure 10
Note that this is on a test domain and that the data collection in real-life scenarios will be a lot slower.
The data collection is now finished! Now it's time to upload that into BloodHound and start making some queries.
Uploading Data and Making Queries
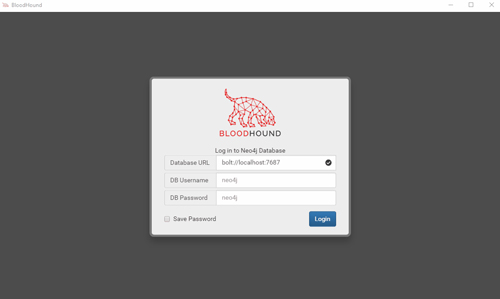
Now that we have installed and downloaded BloodHound, Neo4j and SharpHound, it's time to start up BloodHound for the first time. Start BloodHound.exe located in *C:*. Log in with the user name neo4j and the password that you set on the Neo4j graph database when installing Neo4j.
 [Click on image for larger view.] Figure 11
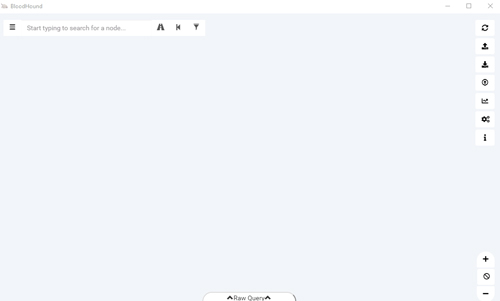
The Neo4j database is empty in the beginning, so it returns, "No data returned from query." Upload the .zip file that SharpHound generated by pressing Upload and selecting the file.
 [Click on image for larger view.] Figure 12
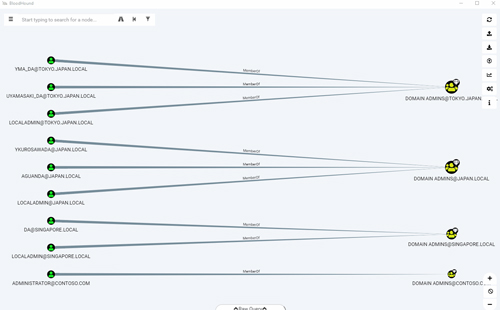
BloodHound will import the JSON files contained in the .zip into Neo4j. You will now be presented with a screen that looks something like this, a default view showing all domain admins:
 [Click on image for larger view.] Figure 13
The number of domain admin groups will vary depending on how many domains you have or have scanned with SharpHound.
Now let's run a built-in query to find the shortest path to domain admin. We can do this by pressing the icon to the left of the search bar, clicking Queries and then clicking on Find Shortest Paths to Domain Admin.
 [Click on image for larger view.] Figure 14
The above is from the BloodHound example data.
We can either create our own query or select one of the built-in ones. Another common one to use for getting a quick overview is the Shortest Paths to High Value Targets query that also includes groups like account operators, enterprise admin and so on.
Finding the Shortest Path from a User
Let's say that you're a hacker and that you phished the password from a user called [email protected] or installed a back door on their machine. We want to find out if we can take domain admin in the tokyo.japan.local domain with with yfan's credentials.
Click the PathFinding icon to the right of the search bar.
 Figure 15
Enter the user as the start node and the domain admin group as the target.
 Figure 16
Those are the only two steps needed. We're now presented with this map:
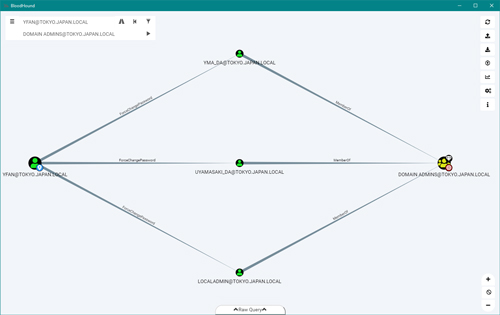 [Click on image for larger view.] Figure 17
Here we can see that yfan happens to have ForceChangePassword permission on domain admin users, so having domain admin in this environment is just a command away.
Vulnerabilities like these are more common than you might think and are usually involuntary.
Summary
You now have some starter knowledge on how to create a complete map with the shortest path to owning your domain. Some of them would have been almost impossible to find without a tool like BloodHound, and the fixes are usually quite fast and easy to do.
The hackers use it to attack you; you should use it regularly to protect your Active Directory.
About the Author
Adam Bertram is a 20-year veteran of IT. He's an automation engineer, blogger, consultant, freelance writer, Pluralsight course author and content marketing advisor to multiple technology companies. Adam also founded the popular TechSnips e-learning platform. He mainly focuses on DevOps, system management and automation technologies, as well as various cloud platforms mostly in the Microsoft space. He is a Microsoft Cloud and Datacenter Management MVP who absorbs knowledge from the IT field and explains it in an easy-to-understand fashion. Catch up on Adam's articles at adamtheautomator.com, connect on LinkedIn or follow him on Twitter at @adbertram or the TechSnips Twitter account @techsnips_io.